Juq-245
active現在活動add to list
Title: A Critical Analysis of Media Content: A Case Study
With more context, I'll be happy to assist you in writing a blog post that provides valuable insights and information about JUQ-245. JUQ-245
To provide the correct "paper" or technical document, I need a little more context to pivot away from the adult media result: Are you researching a specific medical condition chemical inhibitor Is this code from a mechanical manual electronics schematic logistics manifest Do you have the author's name where you think the paper was published? Let me know the subject area Title: A Critical Analysis of Media Content: A
| Step | Action | Result |
|------|--------|--------|
| 1 | Press & hold Power/Mode for 2 s. | Camera boots, LCD shows “Welcome” screen. |
| 2 | Tap Language → select your preferred language. | UI updates. |
| 3 | Tap Date & Time → set manually or enable NTP sync (requires Wi‑Fi). | Accurate timestamps on files. |
| 4 | Wi‑Fi Setup: • Tap Wi‑Fi → Create AP (SSID: JUQ245_XXXX). • Connect phone/computer to that SSN, open browser at 192.168.4.1 or use the JUQ‑App (iOS/Android). • Enter your home Wi‑Fi credentials. | Camera joins your network, enabling live view, remote control, and cloud backup. |
| 5 | Firmware Check: In the app or via the settings menu → About → Check for Updates. If a newer version exists, follow the on‑screen prompts. | Ensures you have the latest bug‑fixes and features. |
| 6 | Format the internal SD card (if you inserted one): Settings → Storage → Format SD. | Prevents file‑system errors. |
| 7 | Run the “Quick Demo” tutorial (first‑time only). | Familiarises you with the main shooting modes. | Product code
If you can provide more details or clarify the context of "JUQ-245", I'd be more than happy to help with the information you're seeking.
Could you please provide more details about JUQ-245? What is it, and what kind of audience are you trying to reach with your post? This will help me give you a more tailored response.
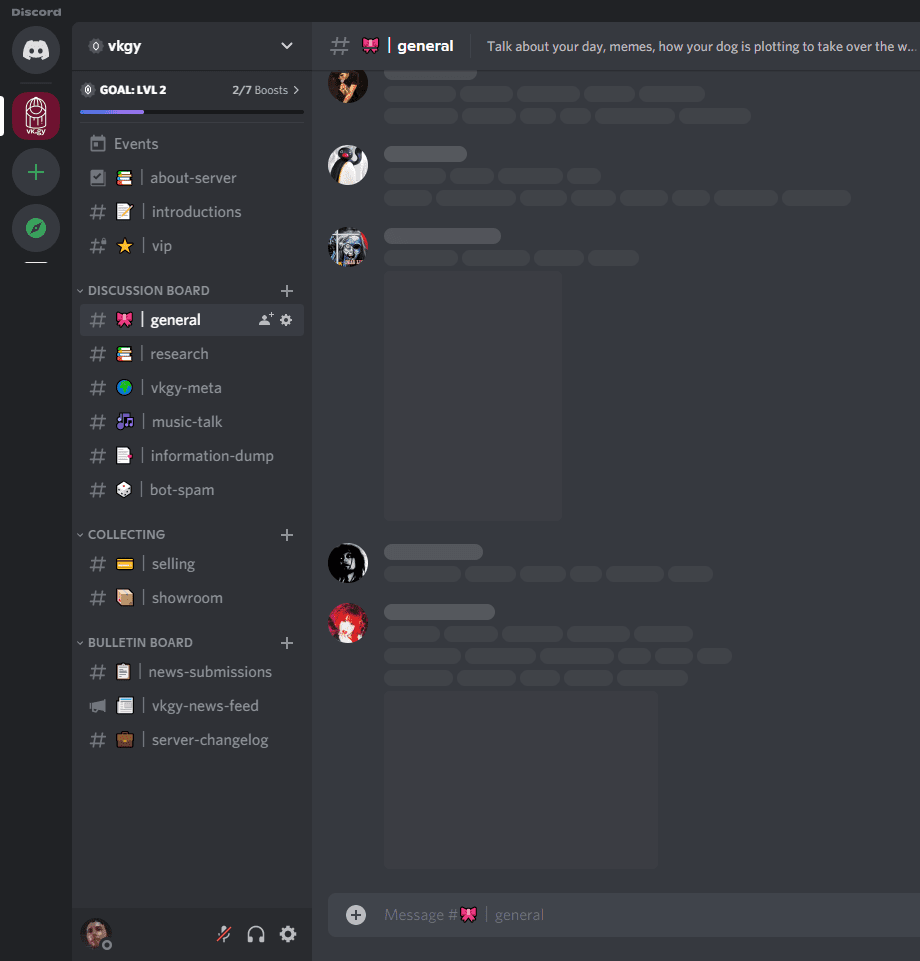
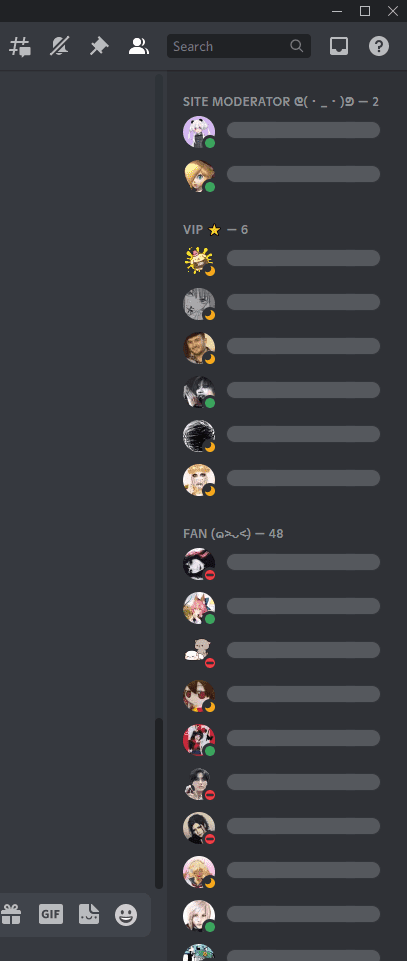
Chat with other fans, research visual bands, discuss new music, and more on our official vkei Discord!